Workshop 2 - Colour Grading DaVinci Resolve
DaVinci Resolve Software
Introduction to Davinci Resolve, not only it is a colour software, it is able to be used as a fully fledge editing software. Able to ingest media and manipulate video, with many video and audio tracks.
- Can edit in any software after edit is complete and after has the ability Transfer/import project files into DaVinci,
- Colour Grading is the over all term to correcting image aesthetics
- Done on original clips in full quality
- Sometimes can be done before the edit start
- Colour grading is Divide into two parts
- 1 - Correct colour/white balance
- Correct mistake on recording
- 2 - Stylisation and grading
- Warm cool, high contrast and etc.
- To look blue/cold can be added and not done in Pre-Production.
- Warm cool, high contrast and etc.
- 1 - Correct colour/white balance
- We never rely on looking at the image and our eyes
- Video looks different on many different types screen.
- Many Screen are monitors which are optimised for text display.
- There are other screen that are optimised for video.
- There are Many different verity of calibrated screens - each output a different colour quality.
- Edit suite consist of:
- At least 1 computer Monitor
- Small video monitor on desk
- And large video monitor, usually on top or to the side.
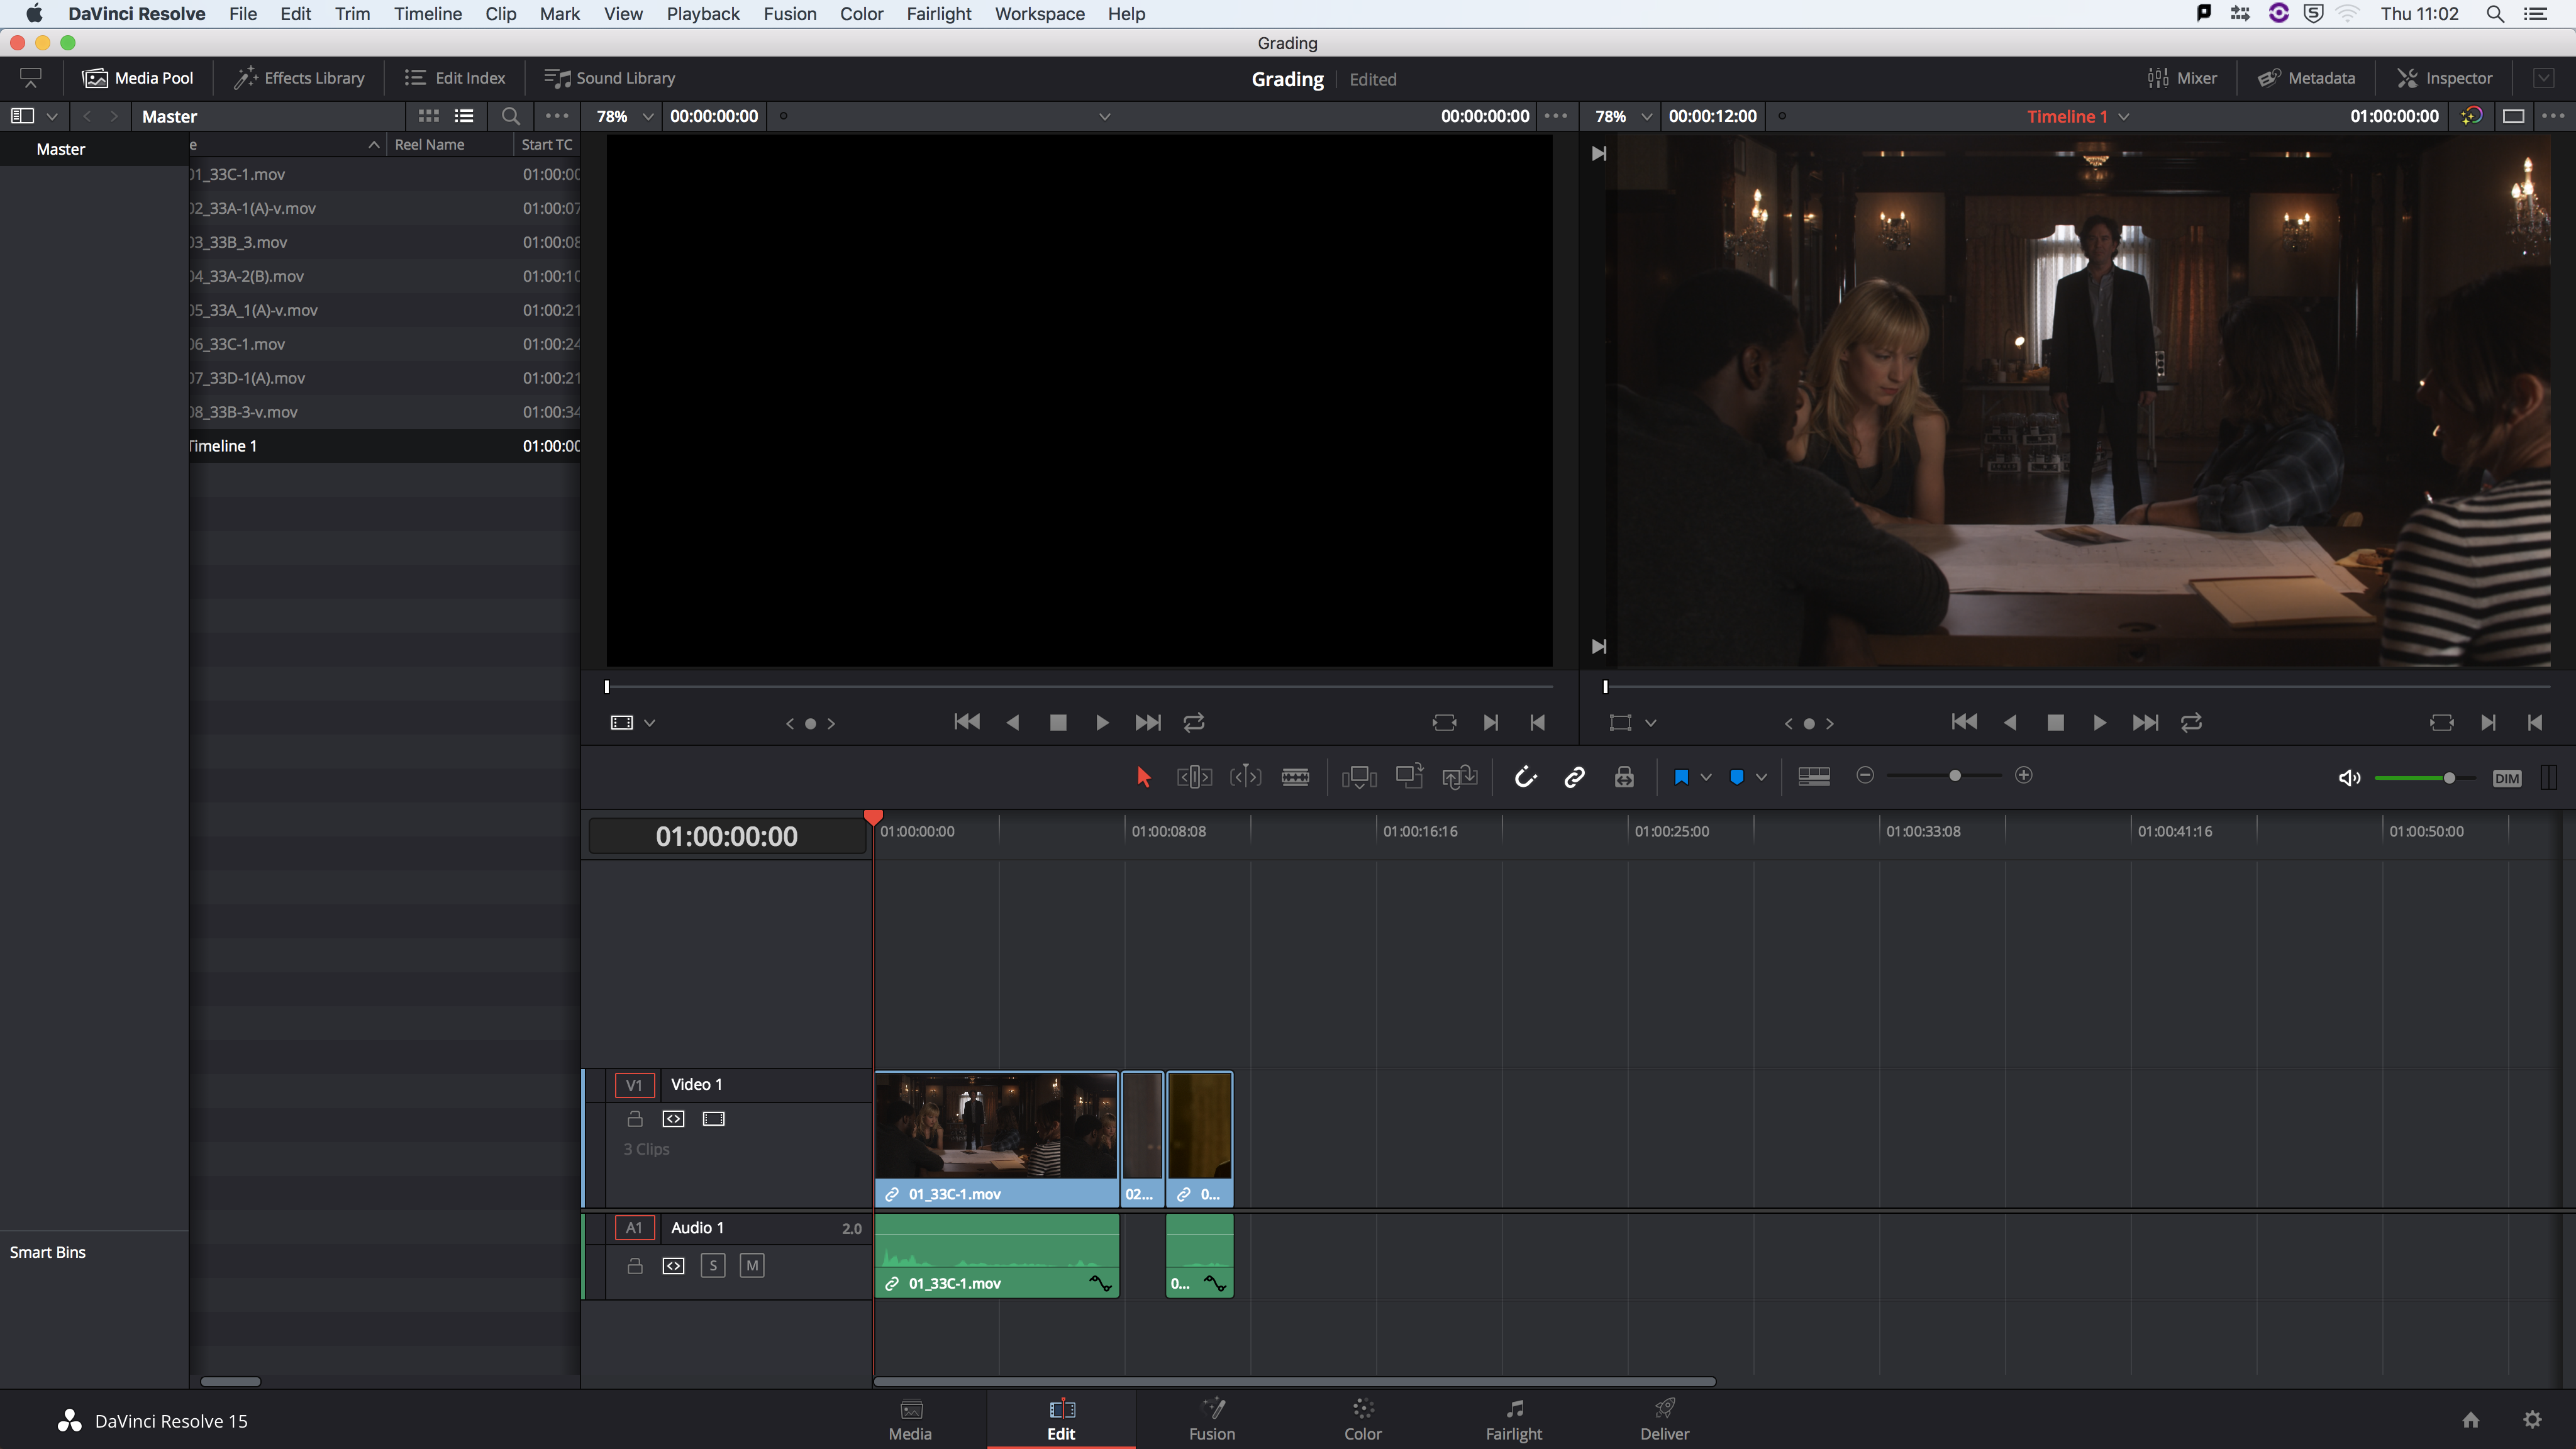
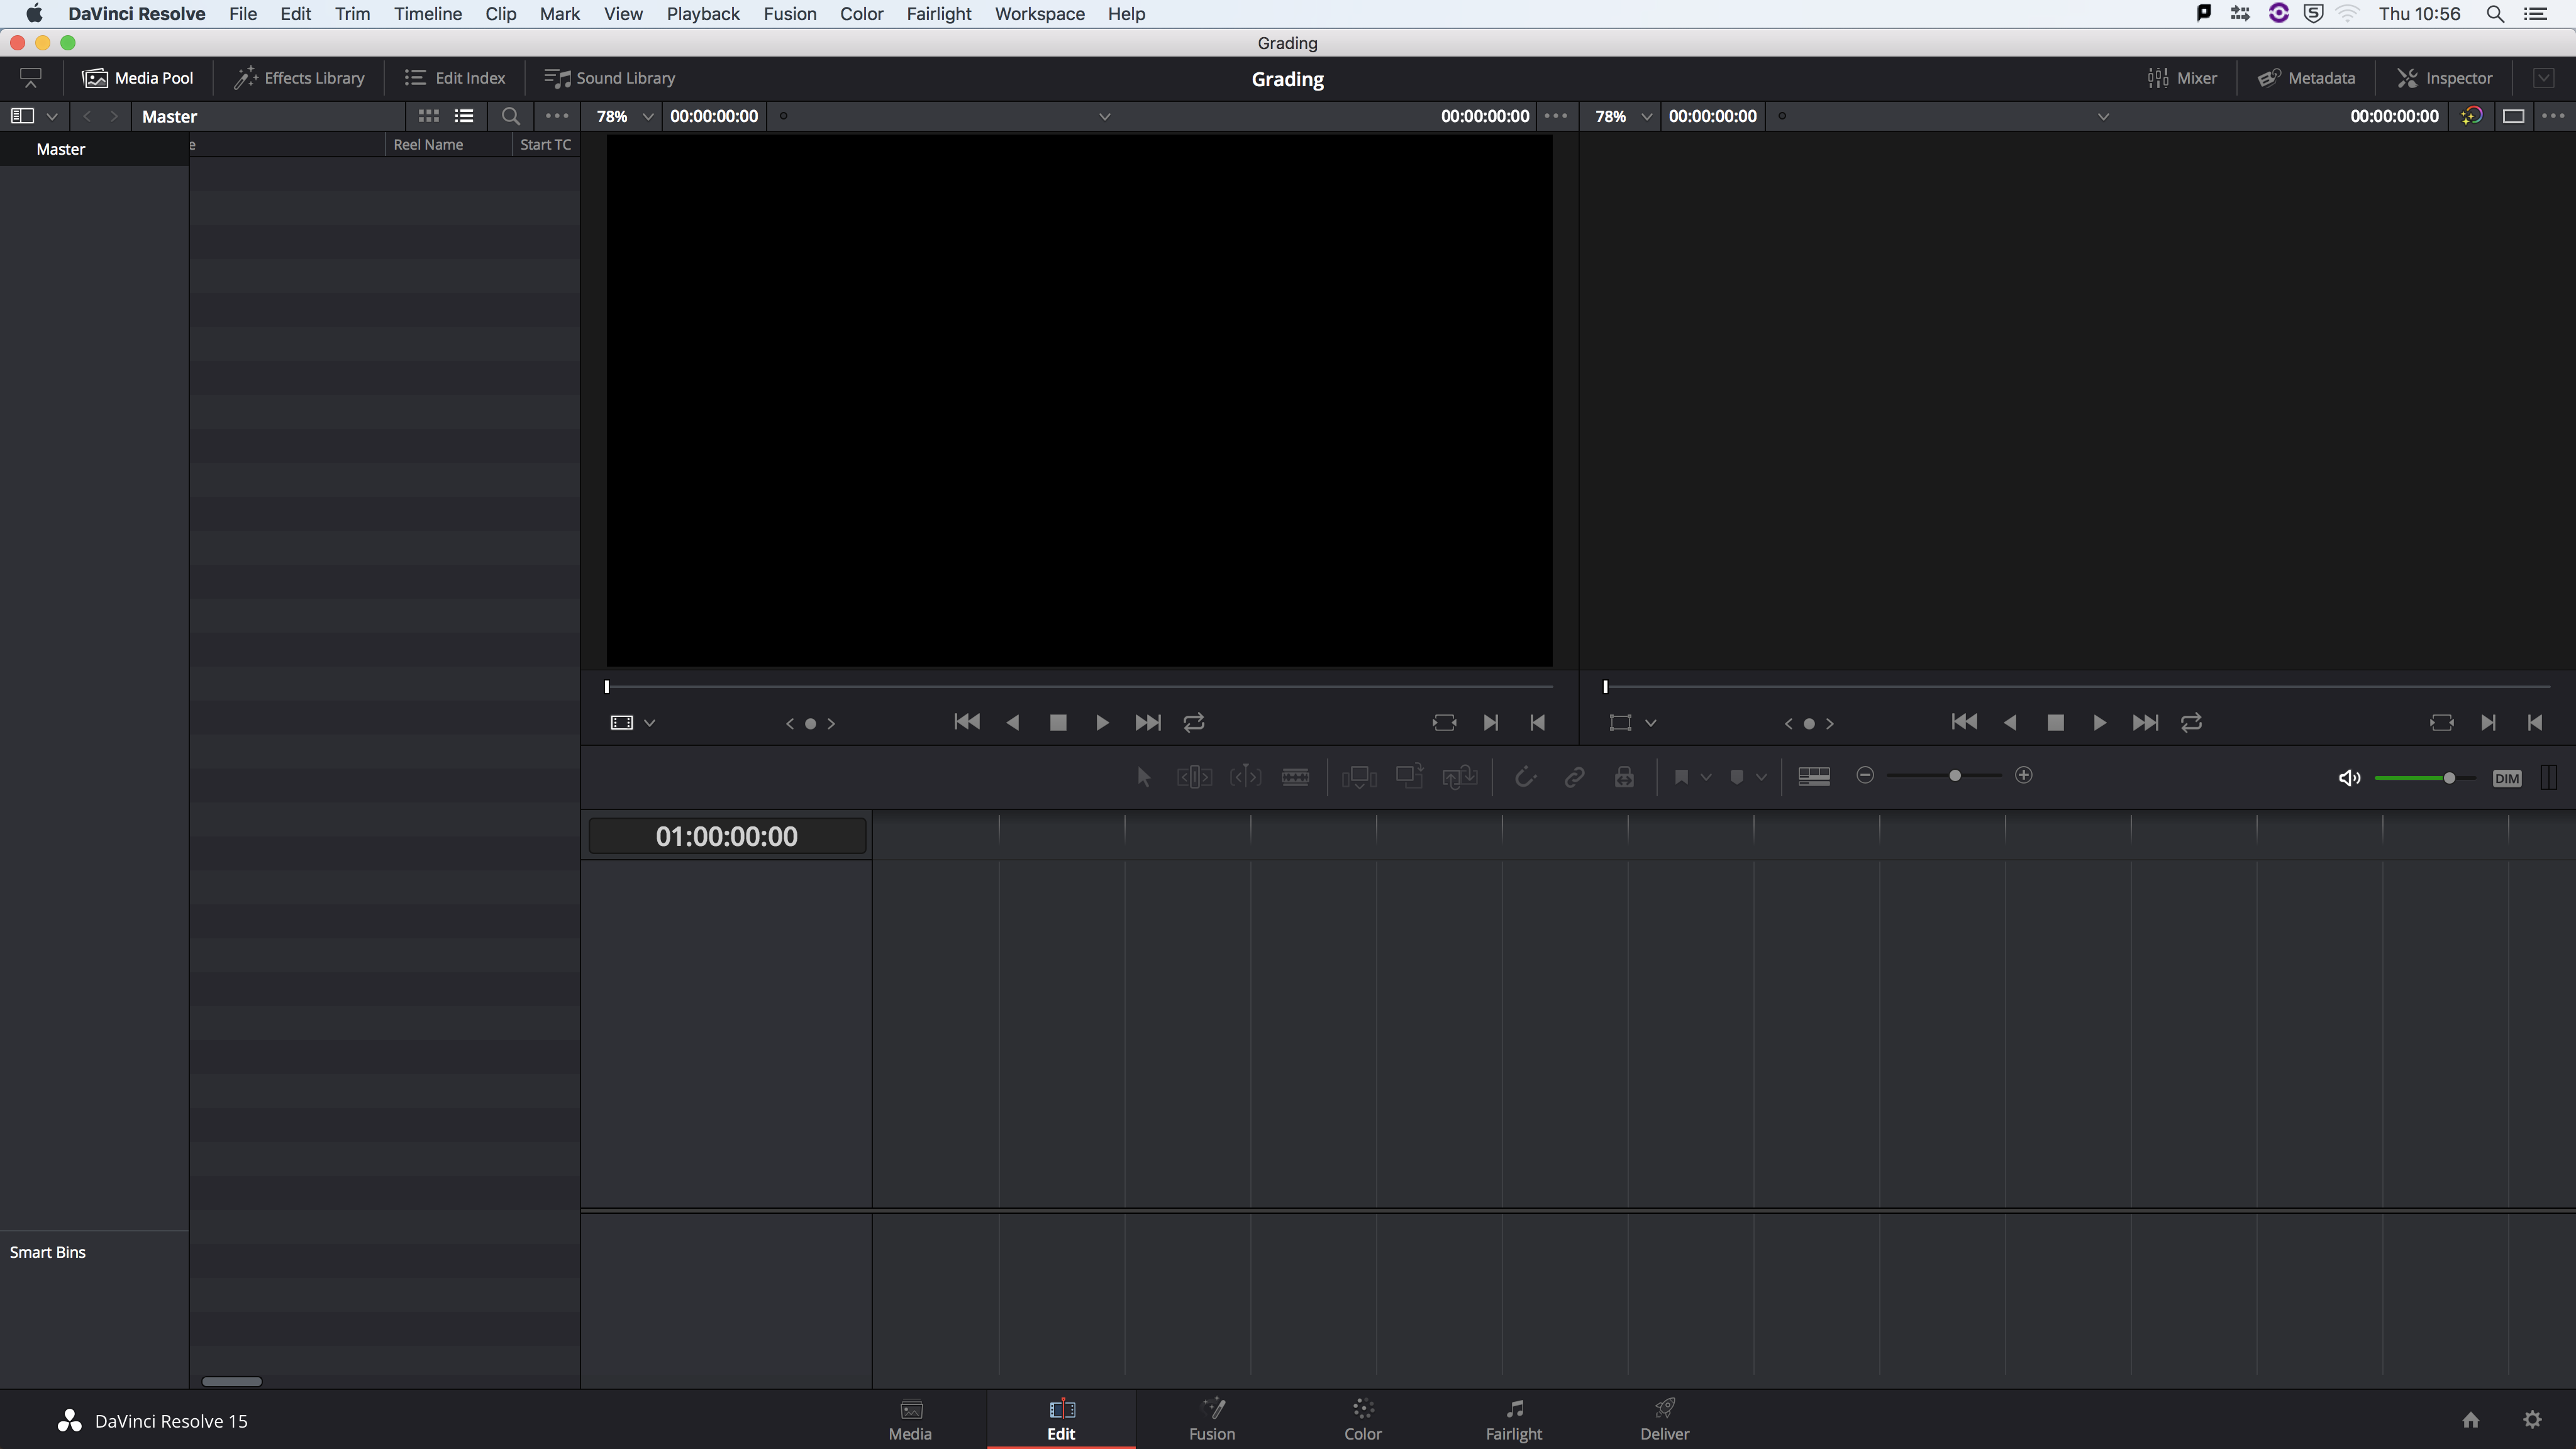
It is normal to transfer media and project files into DaVinci Resolve and colour grade the media. The Interface with in DaVinci.
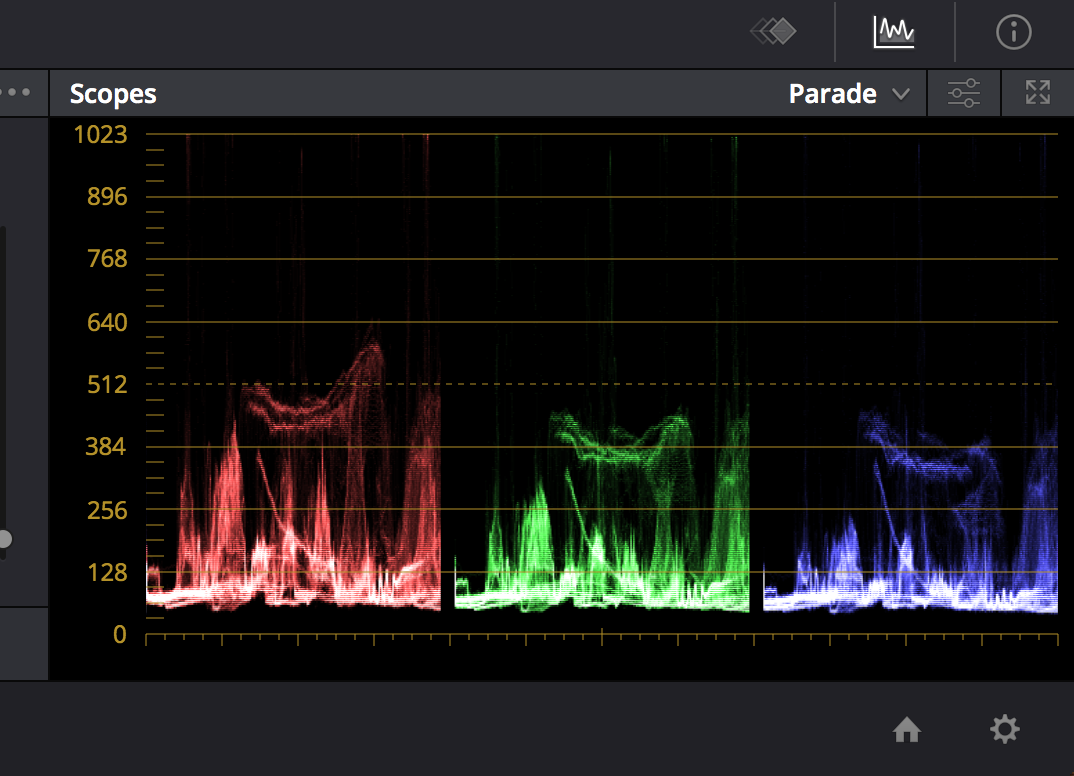
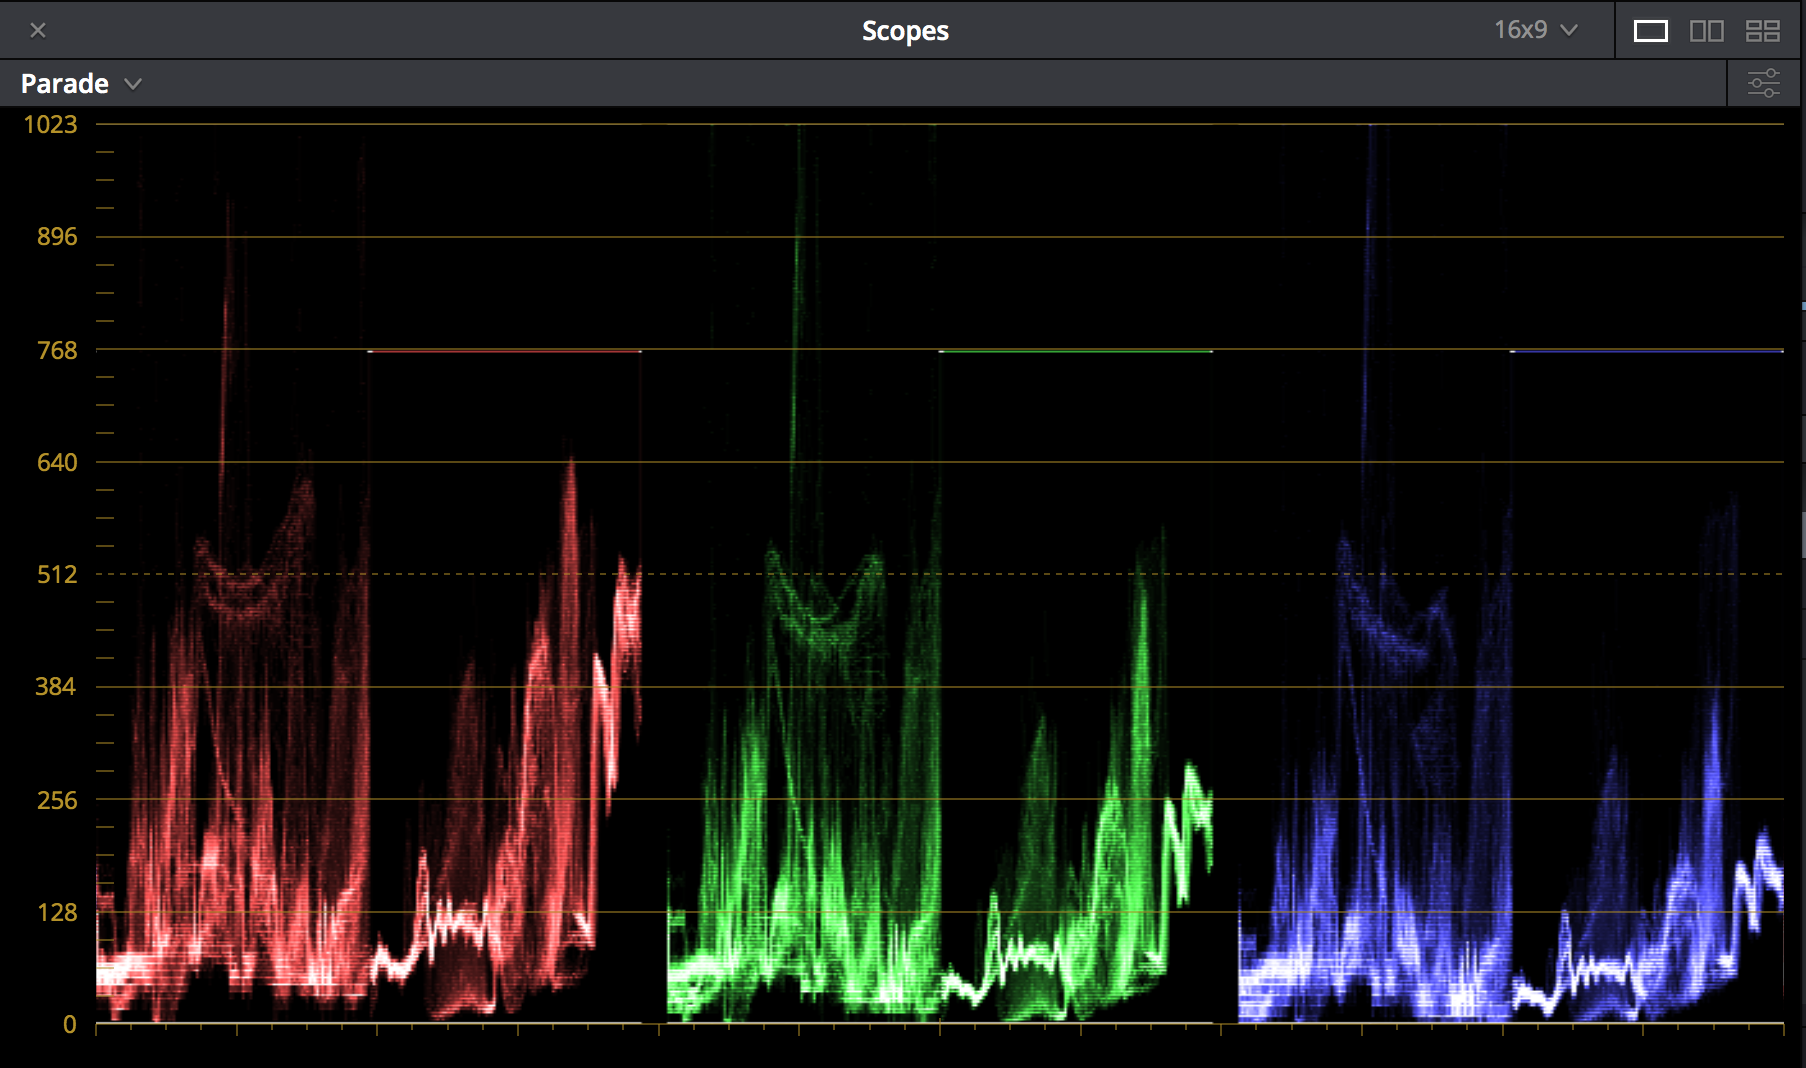
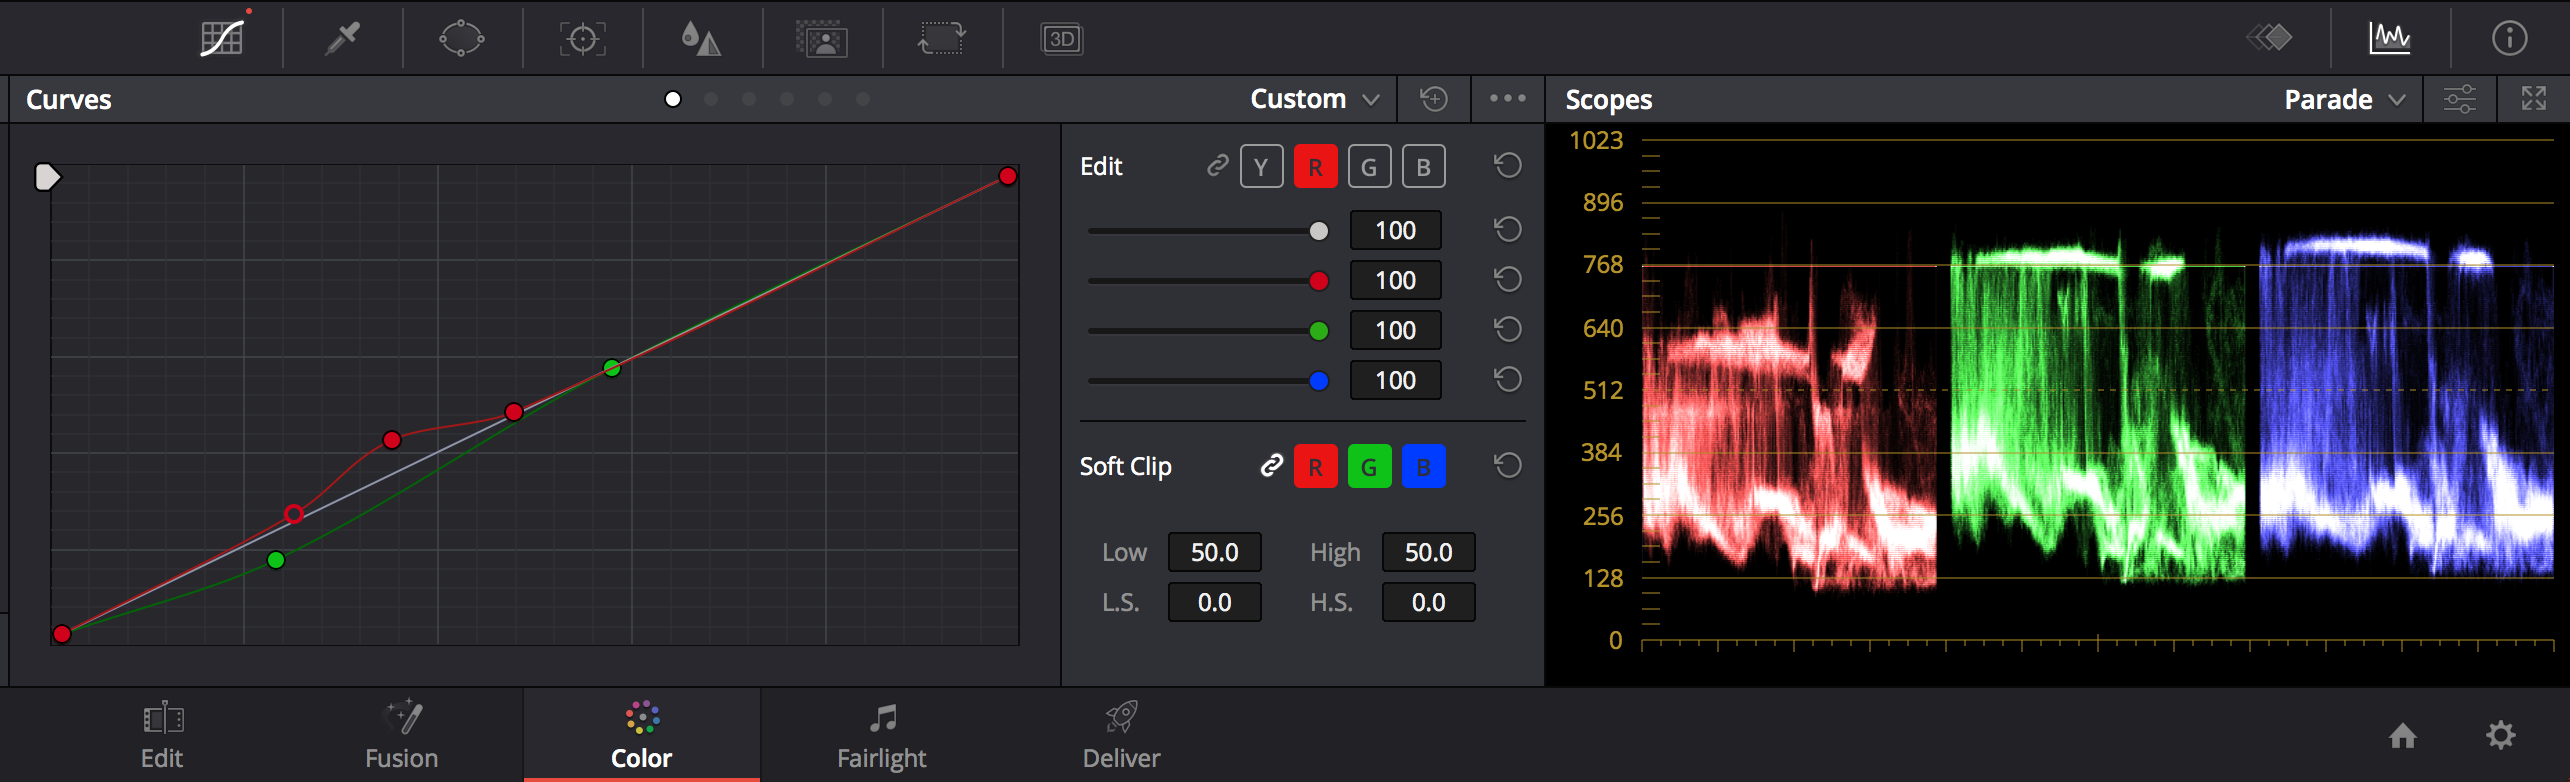
RGB parade
They represent the image from left to right. Button to top is luminous 0-1023 (100%) top line is white
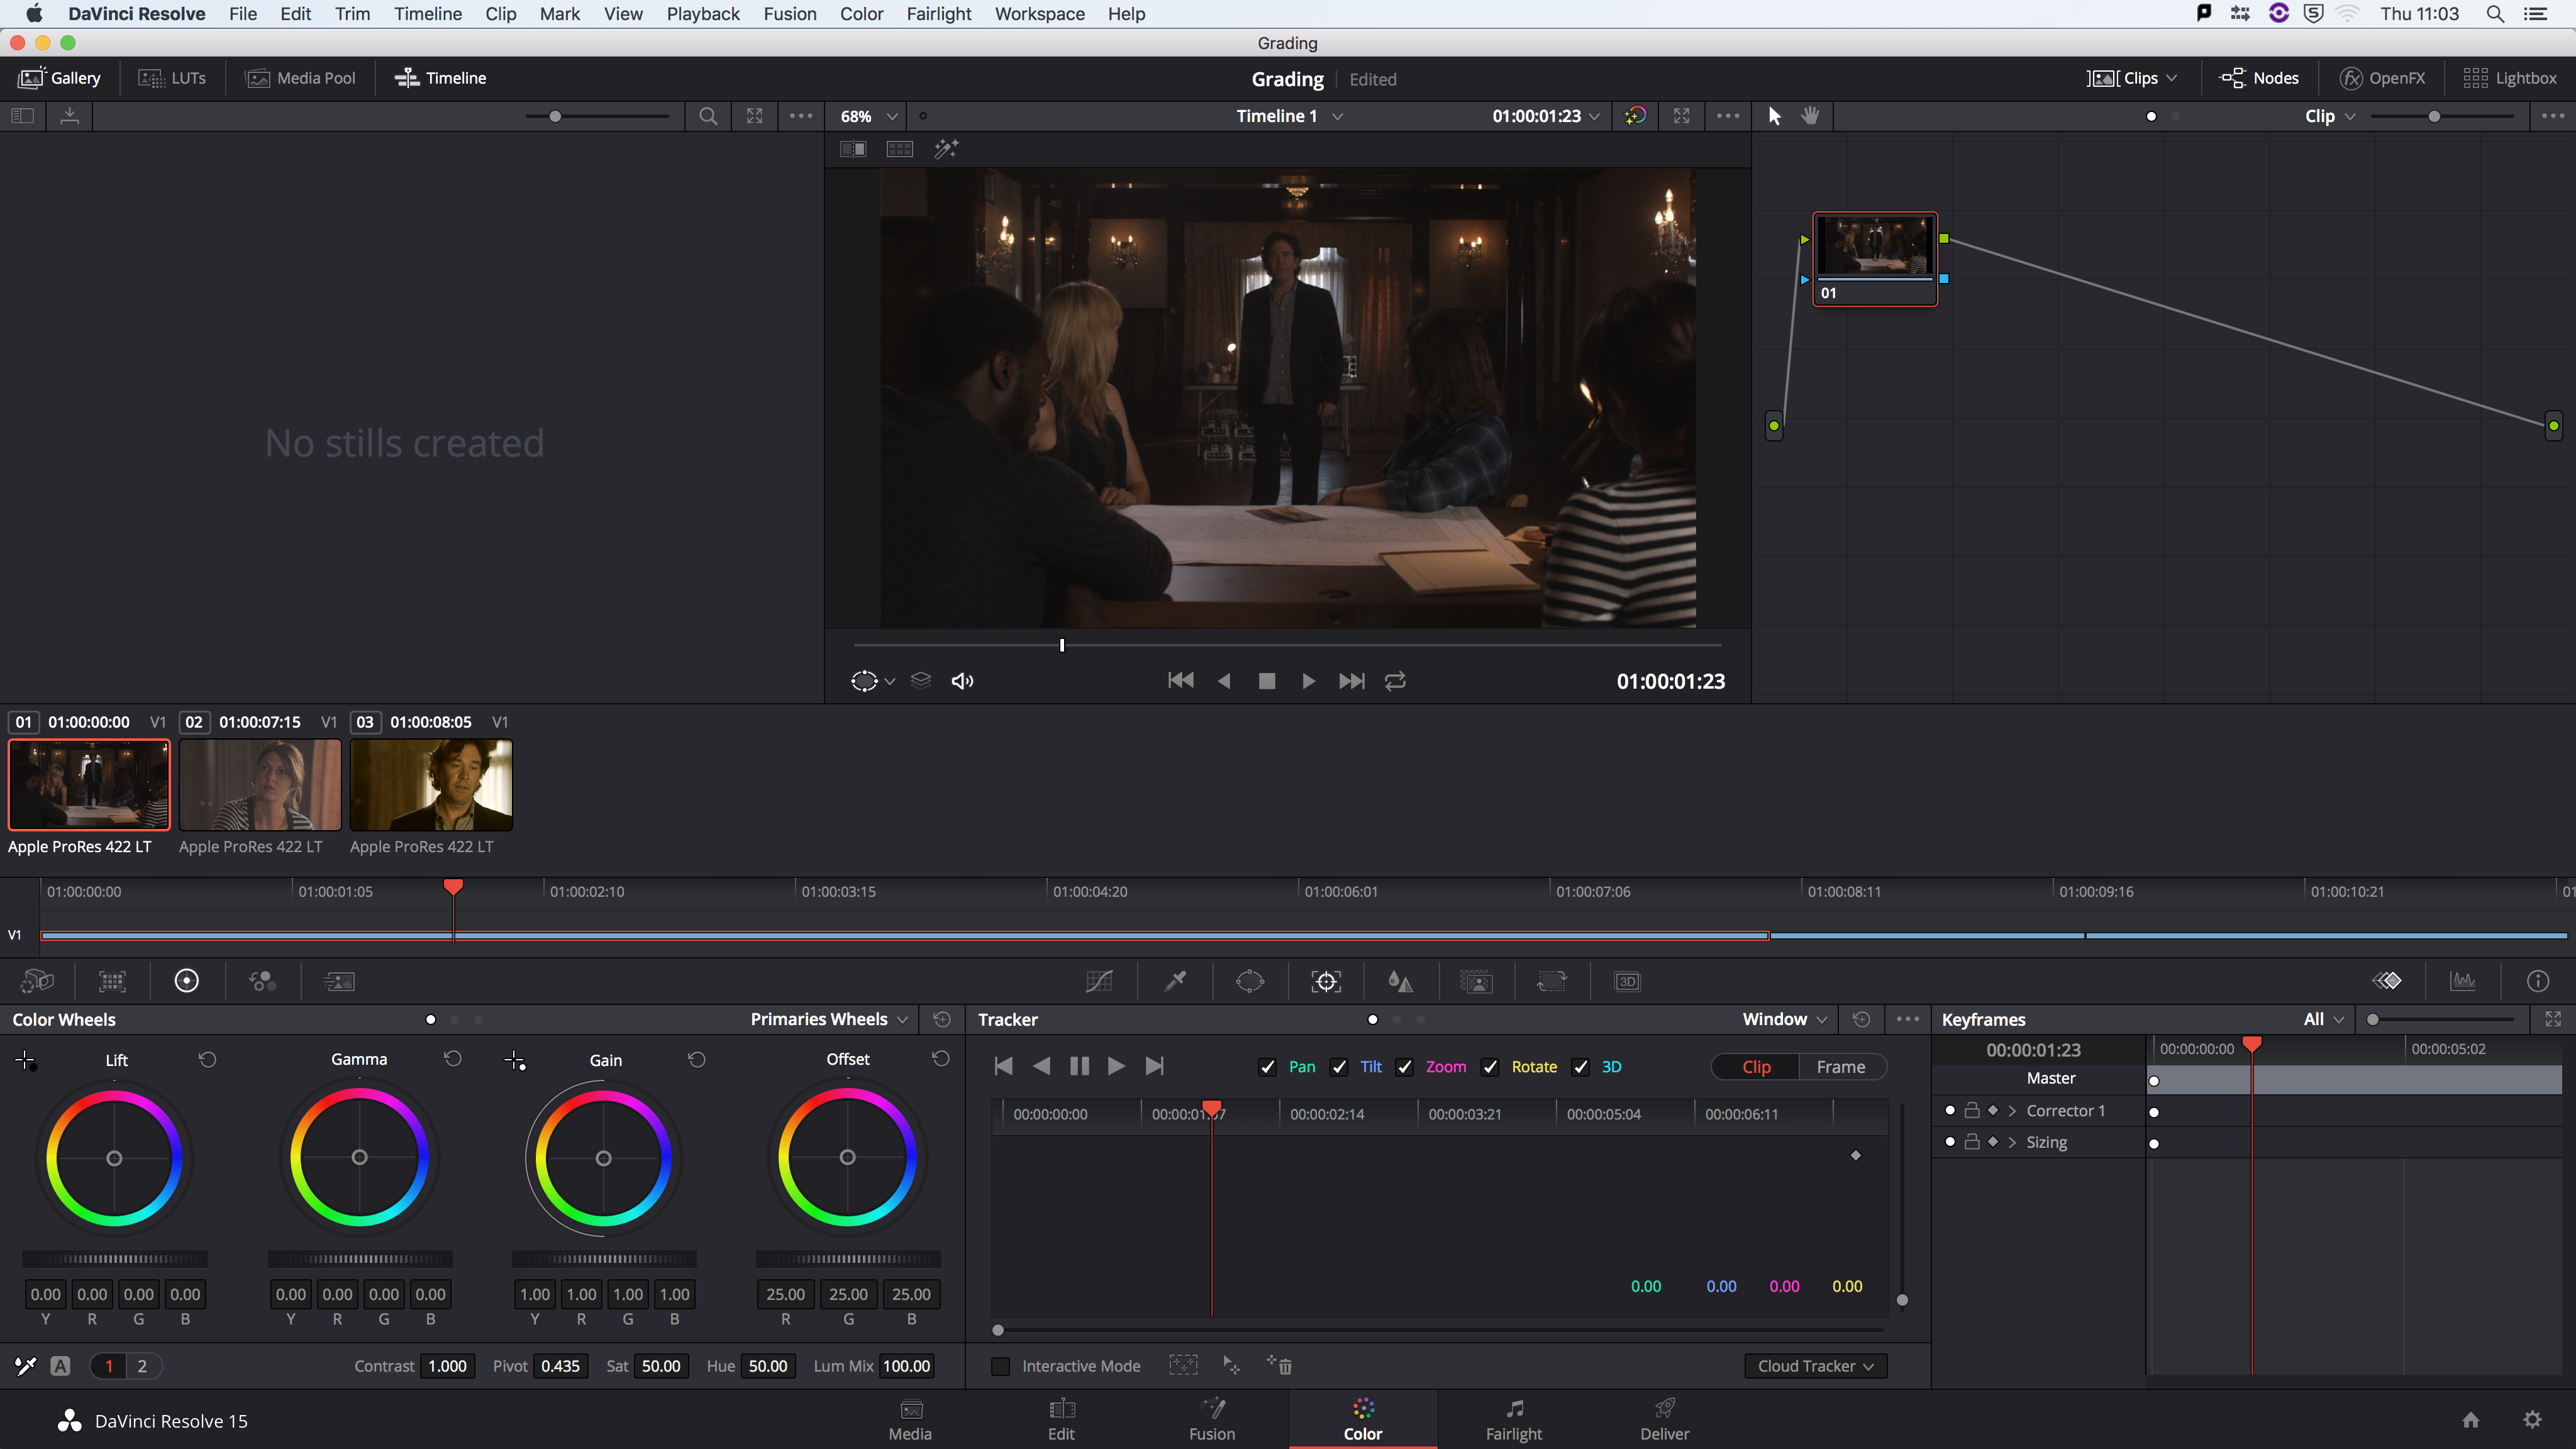
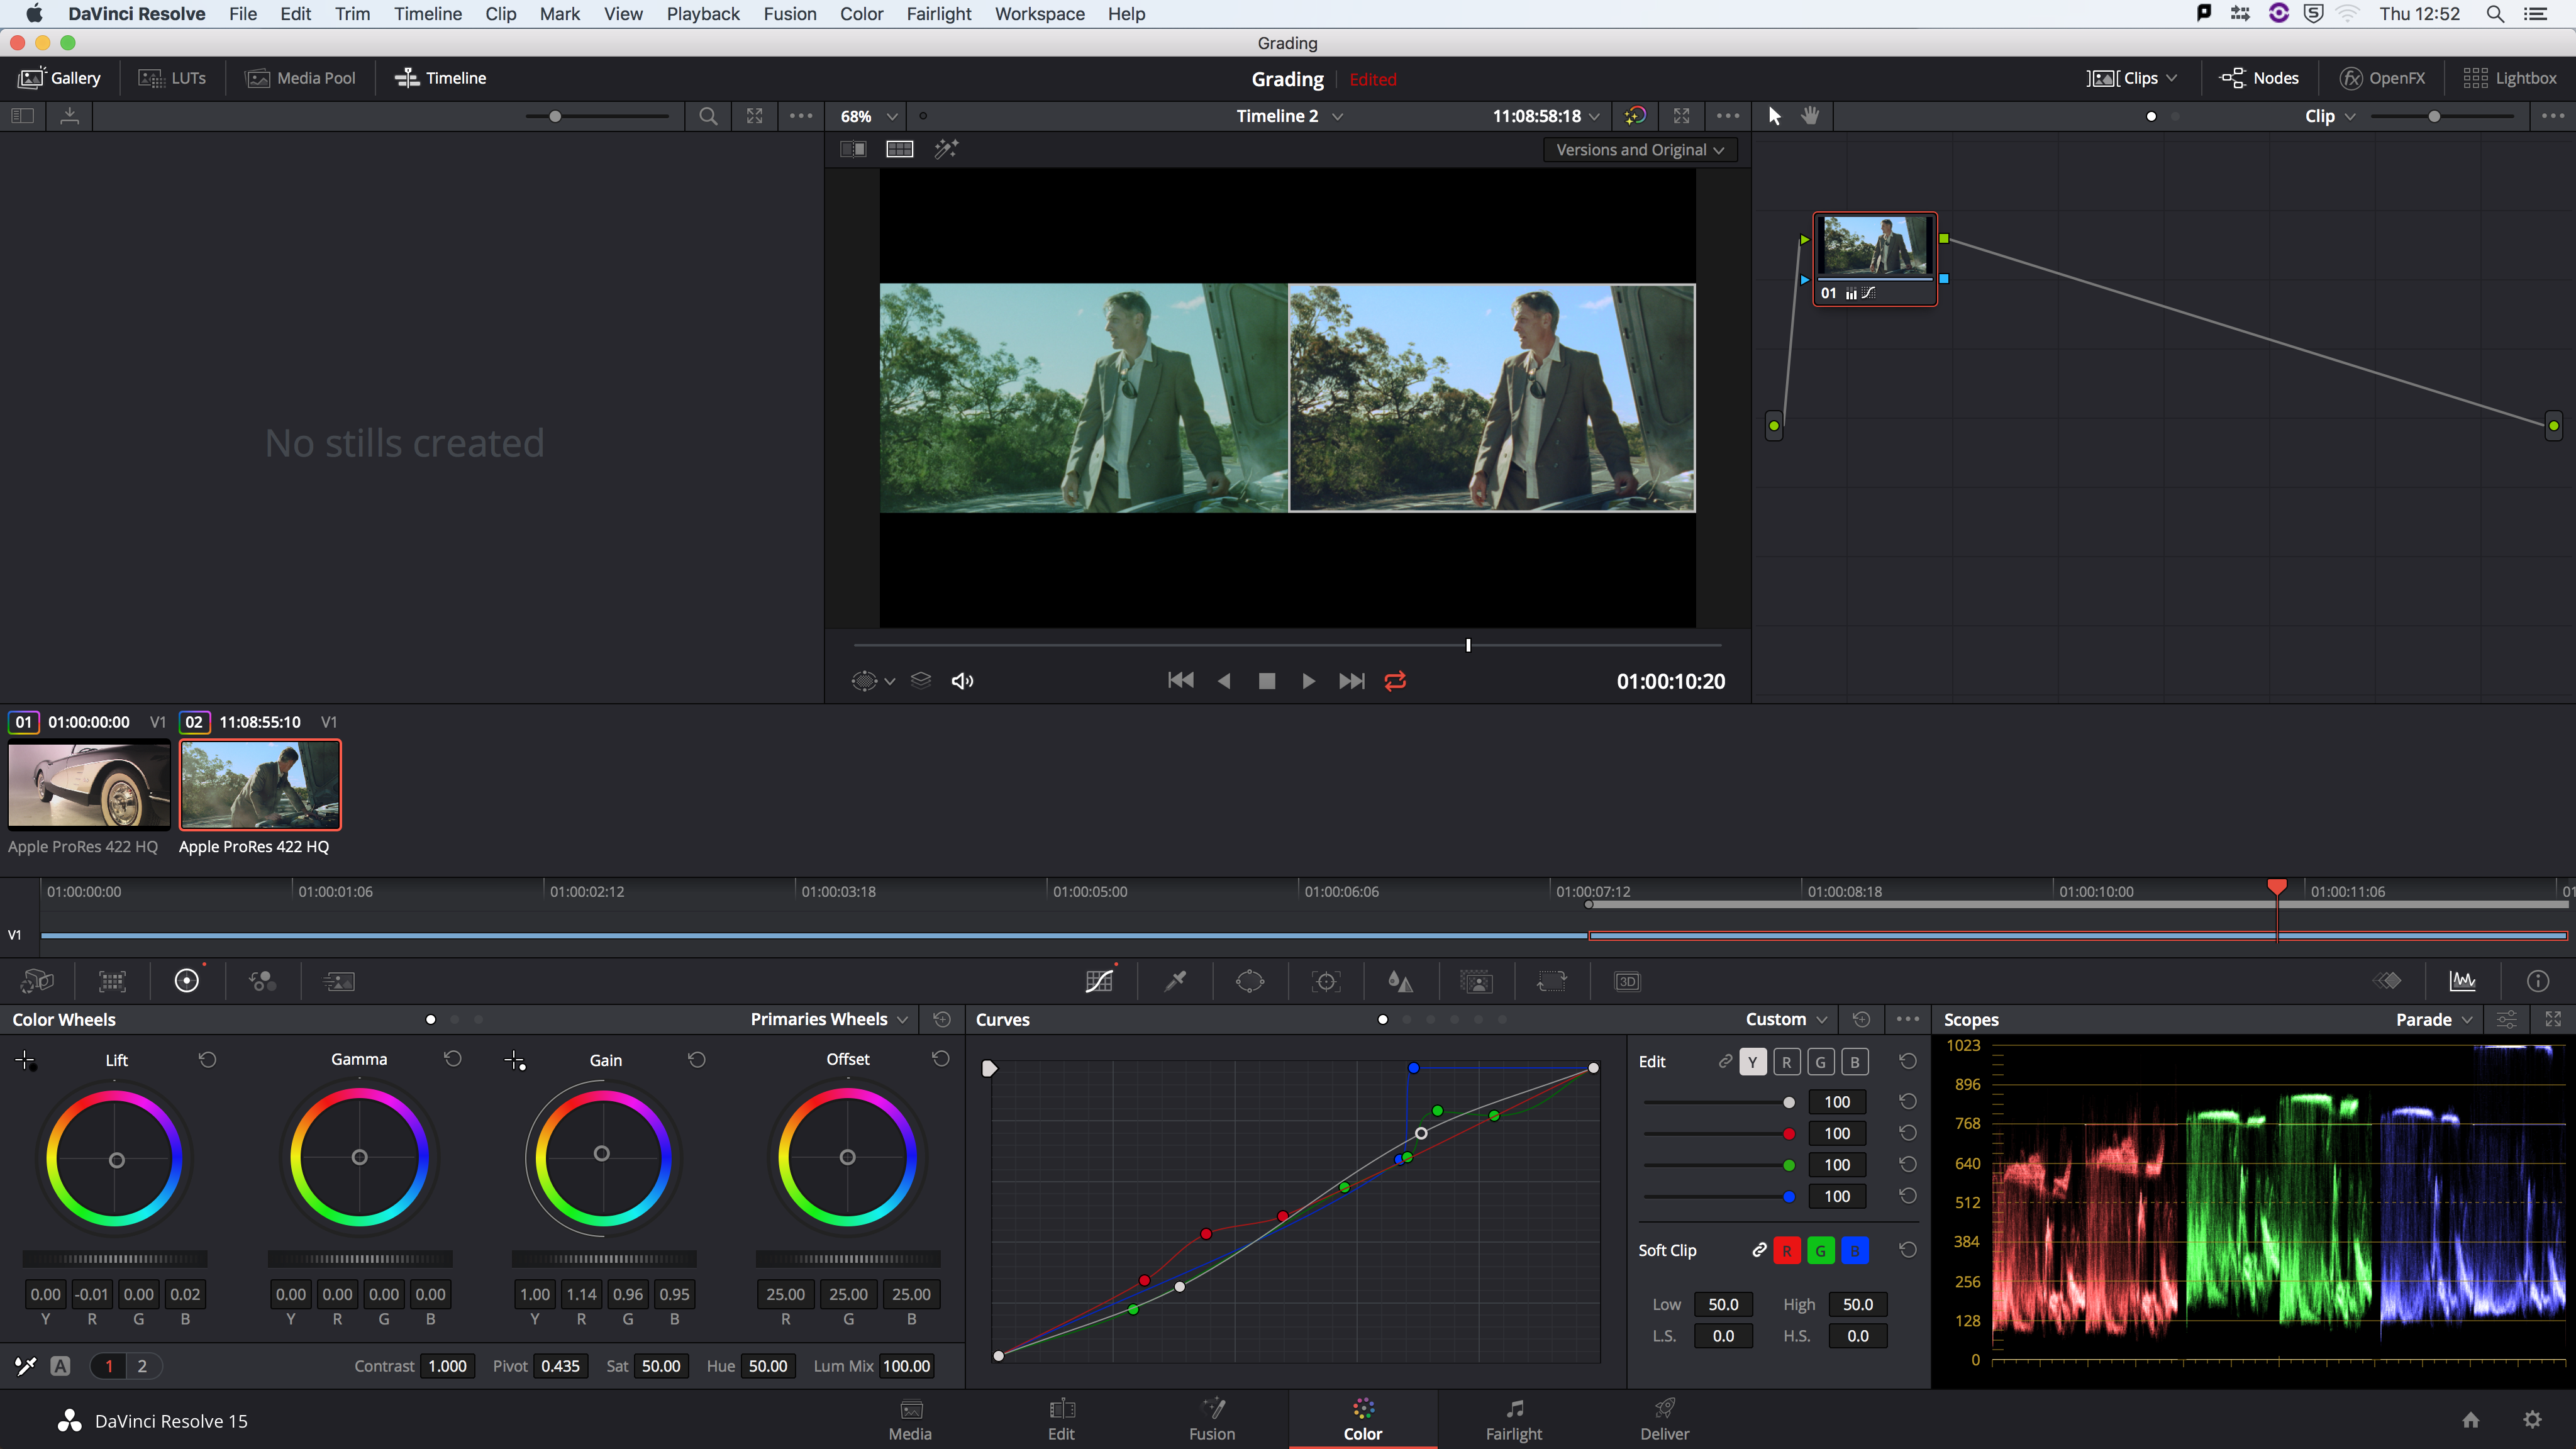
Color Wheels
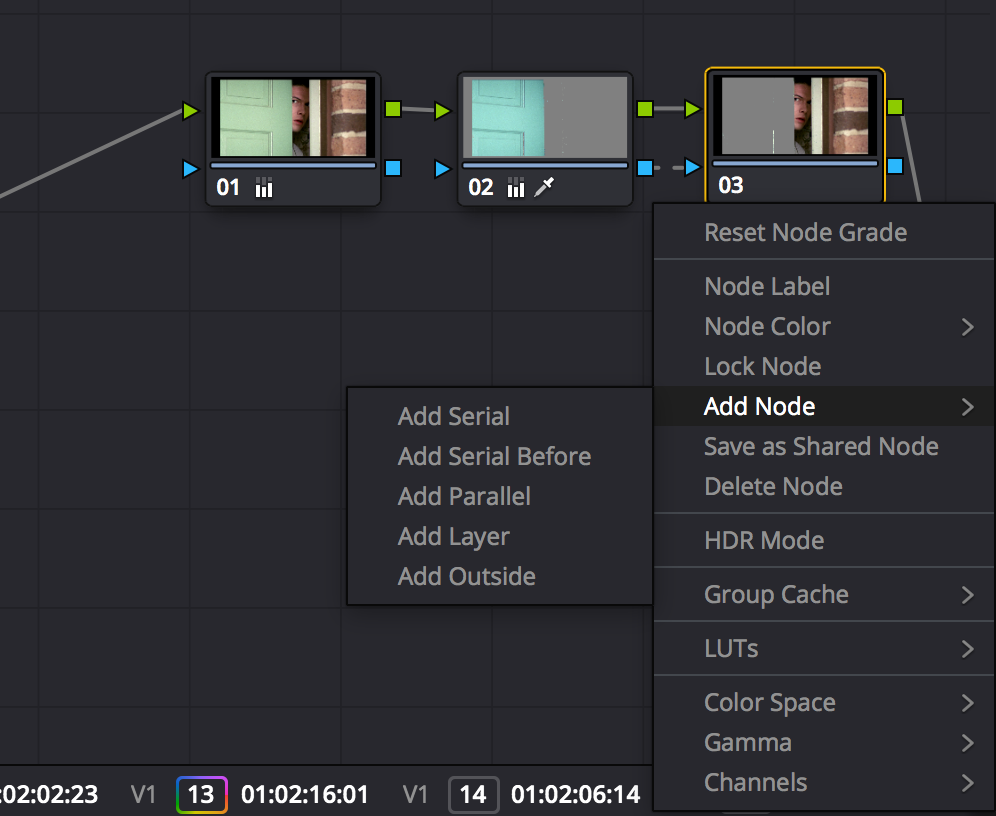
Making Adjustments
- 4 sets of control
- Lift - dark bits
- Gamma - mid tones
- Gain - Bright bits
- Offset - the whole image

- Always start with exposure first before changing colour settings
- Total image has a tone range - so black setting on the line.
- Shift - D :show before and after changes
- High of a RGB, mean that high colour in the parade means that colour is more predominate in the image.
- Question asked befoer starting colour balance. For items that should be white.
- To stylise, should white things be colour neutral or to have a tint of colour to them.
- Find colour correction
- Search something in image that is colour natural
- Search its repression in the Perade.
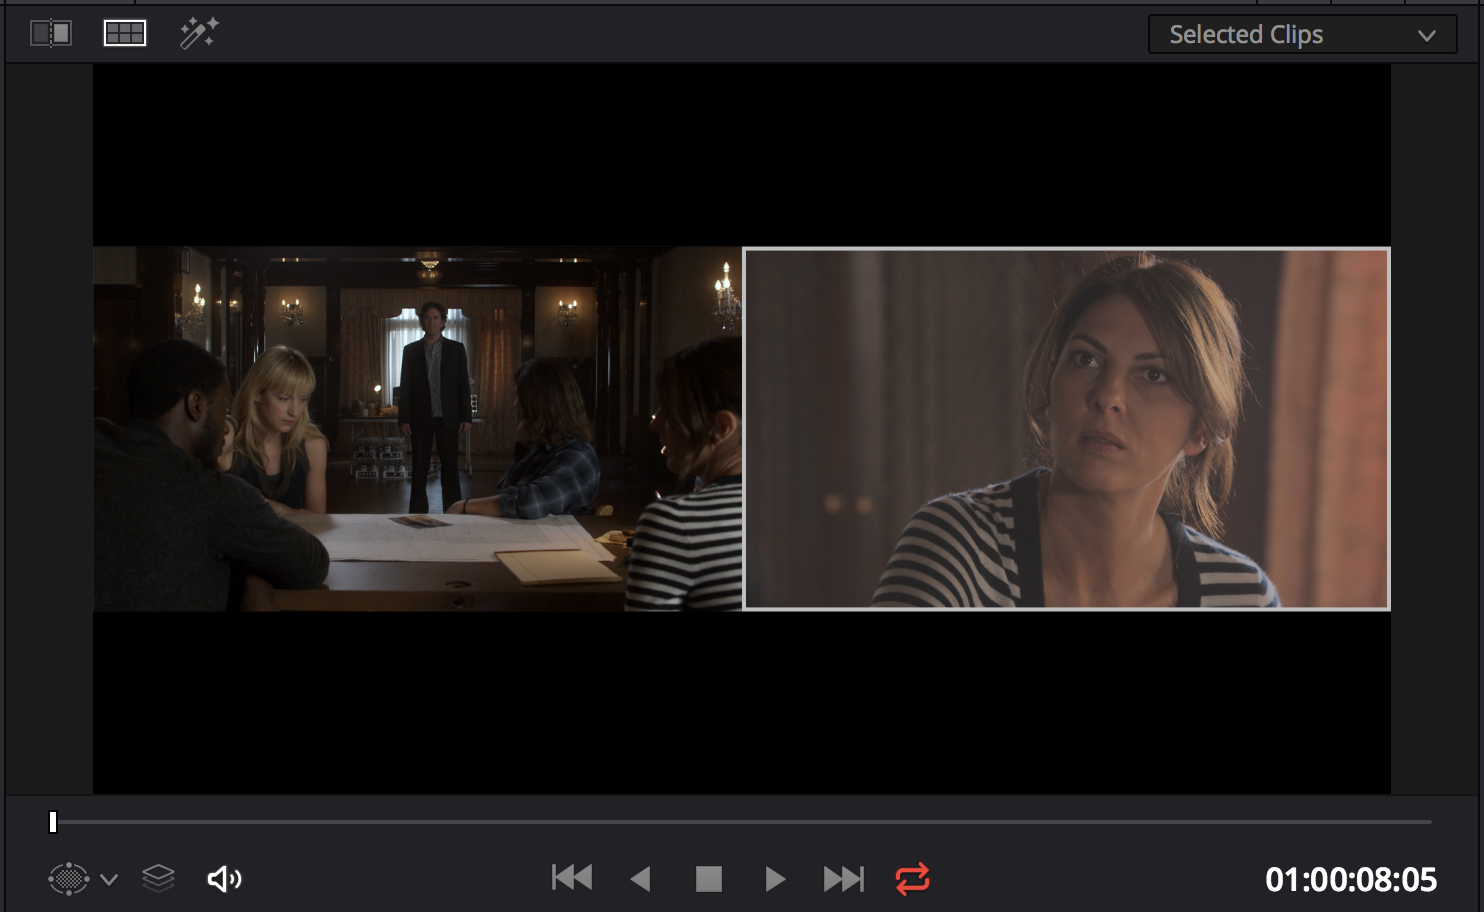
- Multipul Clips
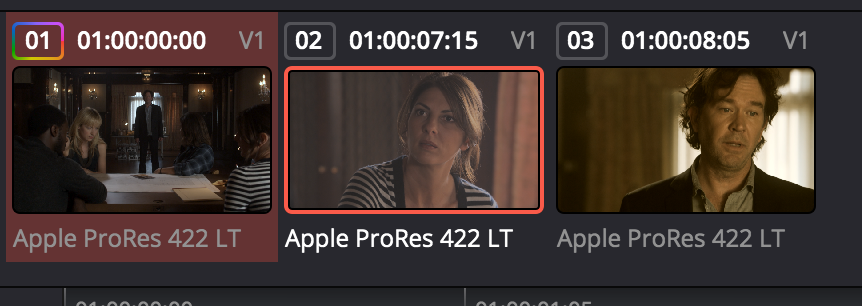
- Viwing side by side
-
CMD command key and previous clip
- And select slept screen for side by side view
-
Grey box visual on parade for video output
-
Zero saturation colour nut-role for greyscale. No colour in image.
-
Using colour wheel
- Eyes taken away from image and can bus used confusing
- In the industry they don’t use the mouse
- They use a panel
- A Grading control interfaces
- They use a panel
- In the industry they don’t use the mouse
- Eyes taken away from image and can bus used confusing
-
Grading can be difficult to isolate colour tone is specific area of images
-
Option for linking grading to similar shots
- Making colour grading so much easier
- First option is copy and paste
- opther option is linking the changes to to all the other linked clips
- Using curves is same as previous.
- Y mean luminous / brightness
- Curves can add point to affect a narrow band (more detailed control)
- Isolate section with curves point to bring up flesh tones or other parts of an image.
Advanced Divici Resolve grading
- Different format and ability to colour grade
- Less bright area usual start to get noisy
- Compressing when shooting
- Less bright area usual start to get noisy
- Lower formate with compression
- Gain compression
- Shooting something in low light in pre-production
- When shooting with a highly compress format, and the increasing gain. There are artifact and noise in the image that cannot be removed.
- Easier to overexpose and then later to reduce in post production rather than underexpose and over expose in post-production
- With compressed formate can be graded well, when well lit during recording.
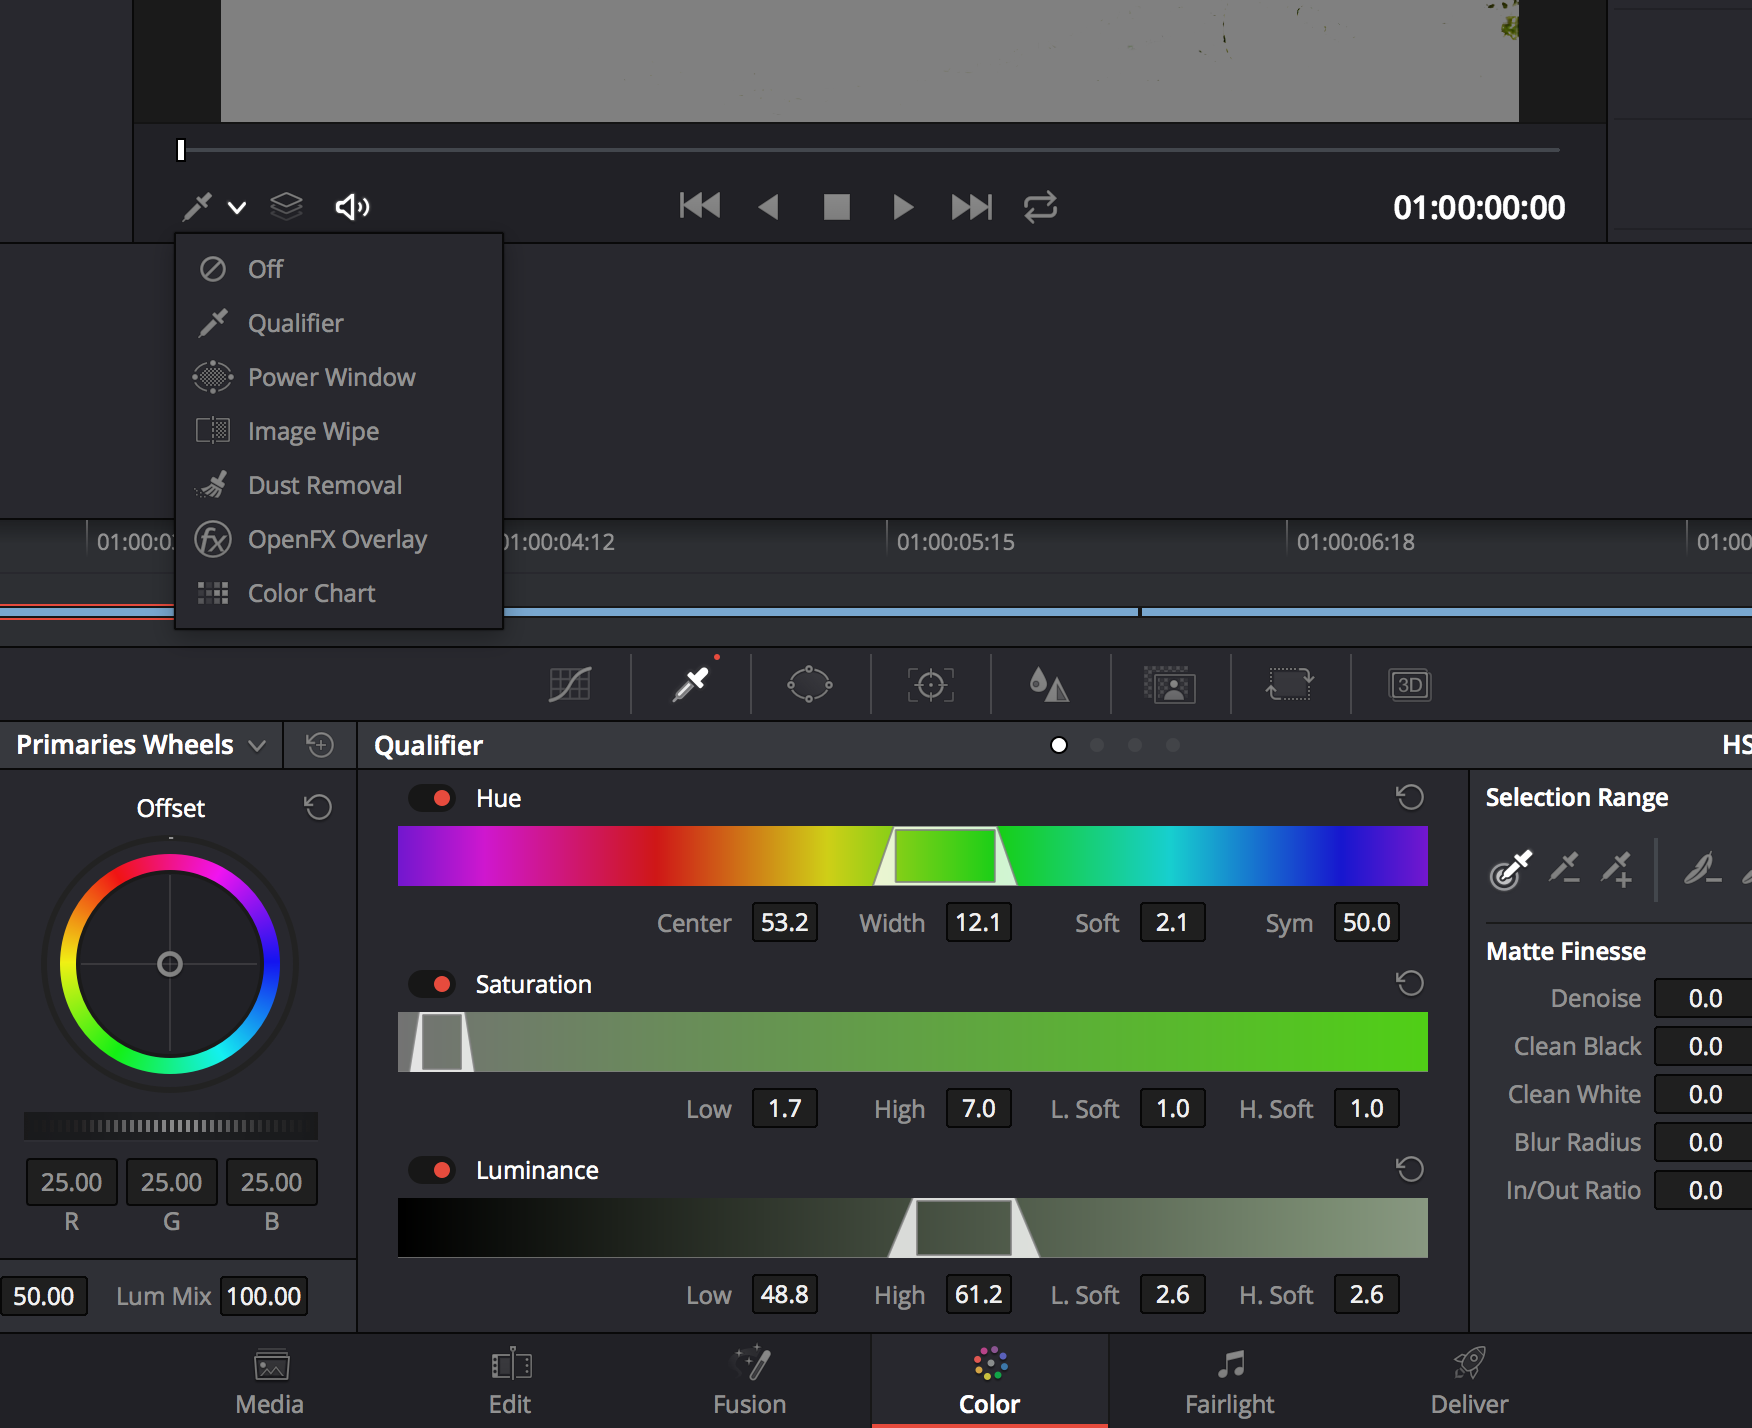
* Sampling with qualifier
- Can choose specific colours to change
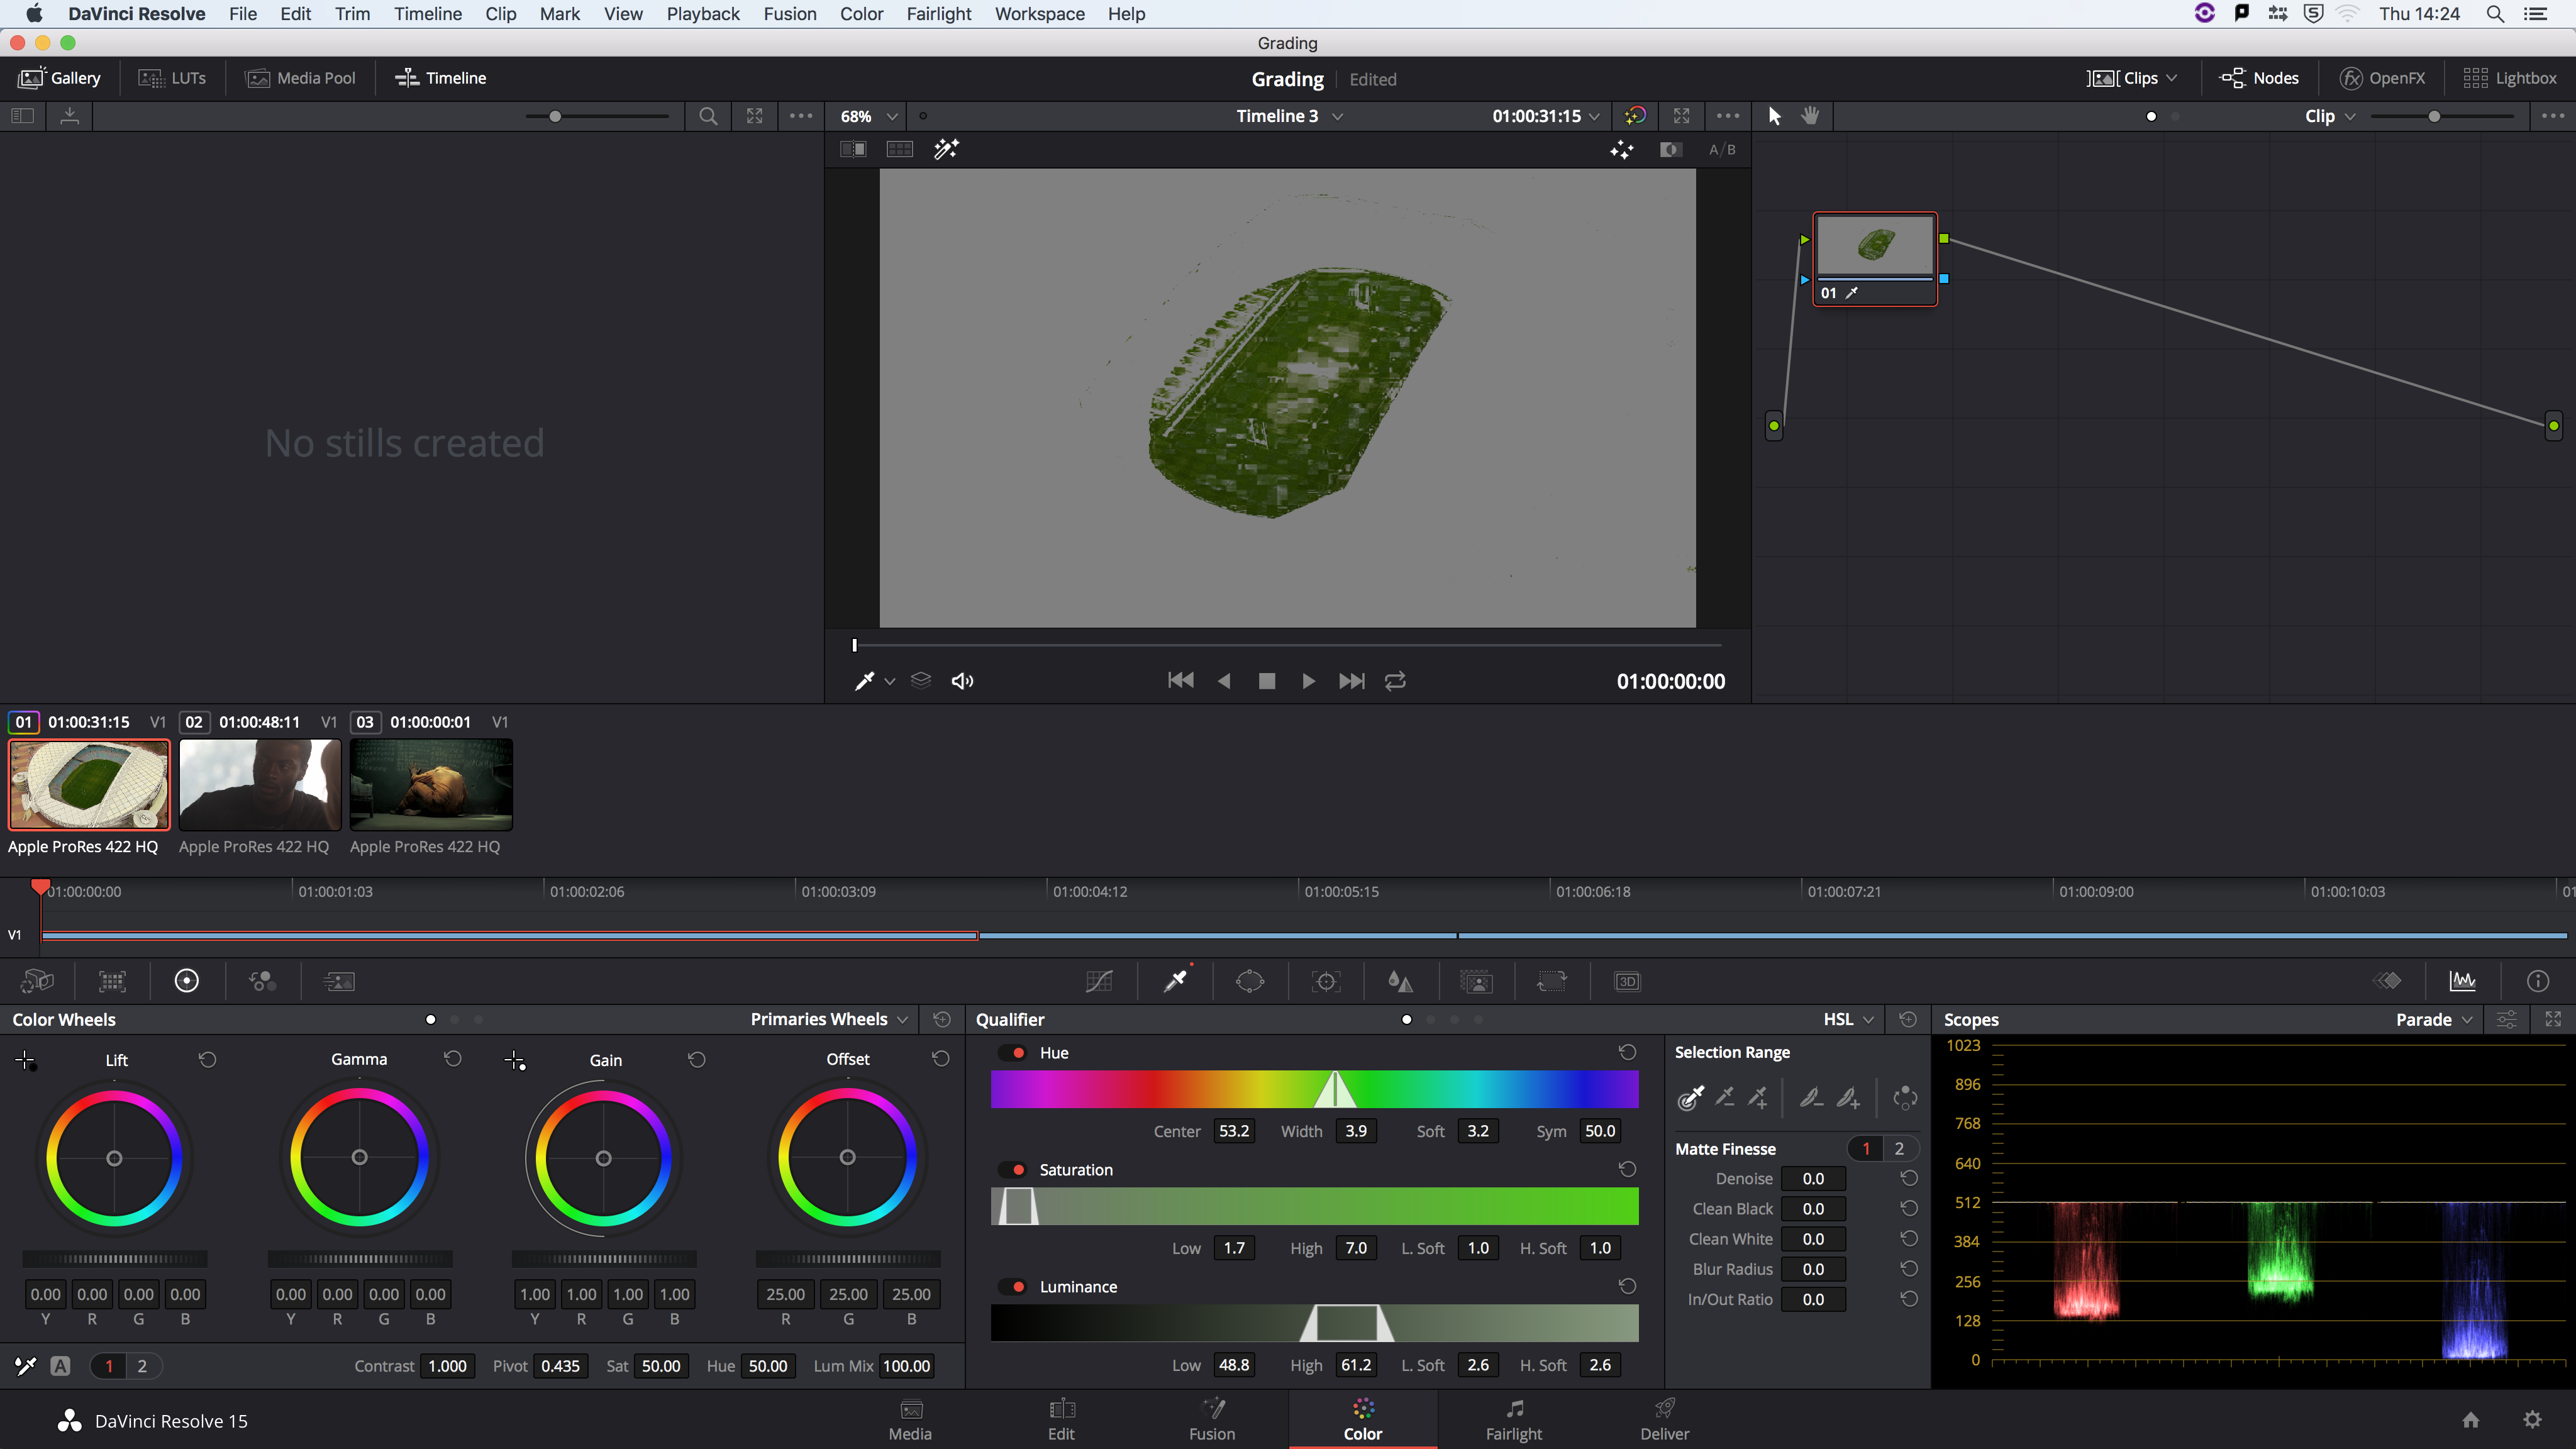
- Adding a mask - subtle spot light on the face to bring out his facial features.
- When using people with backlight
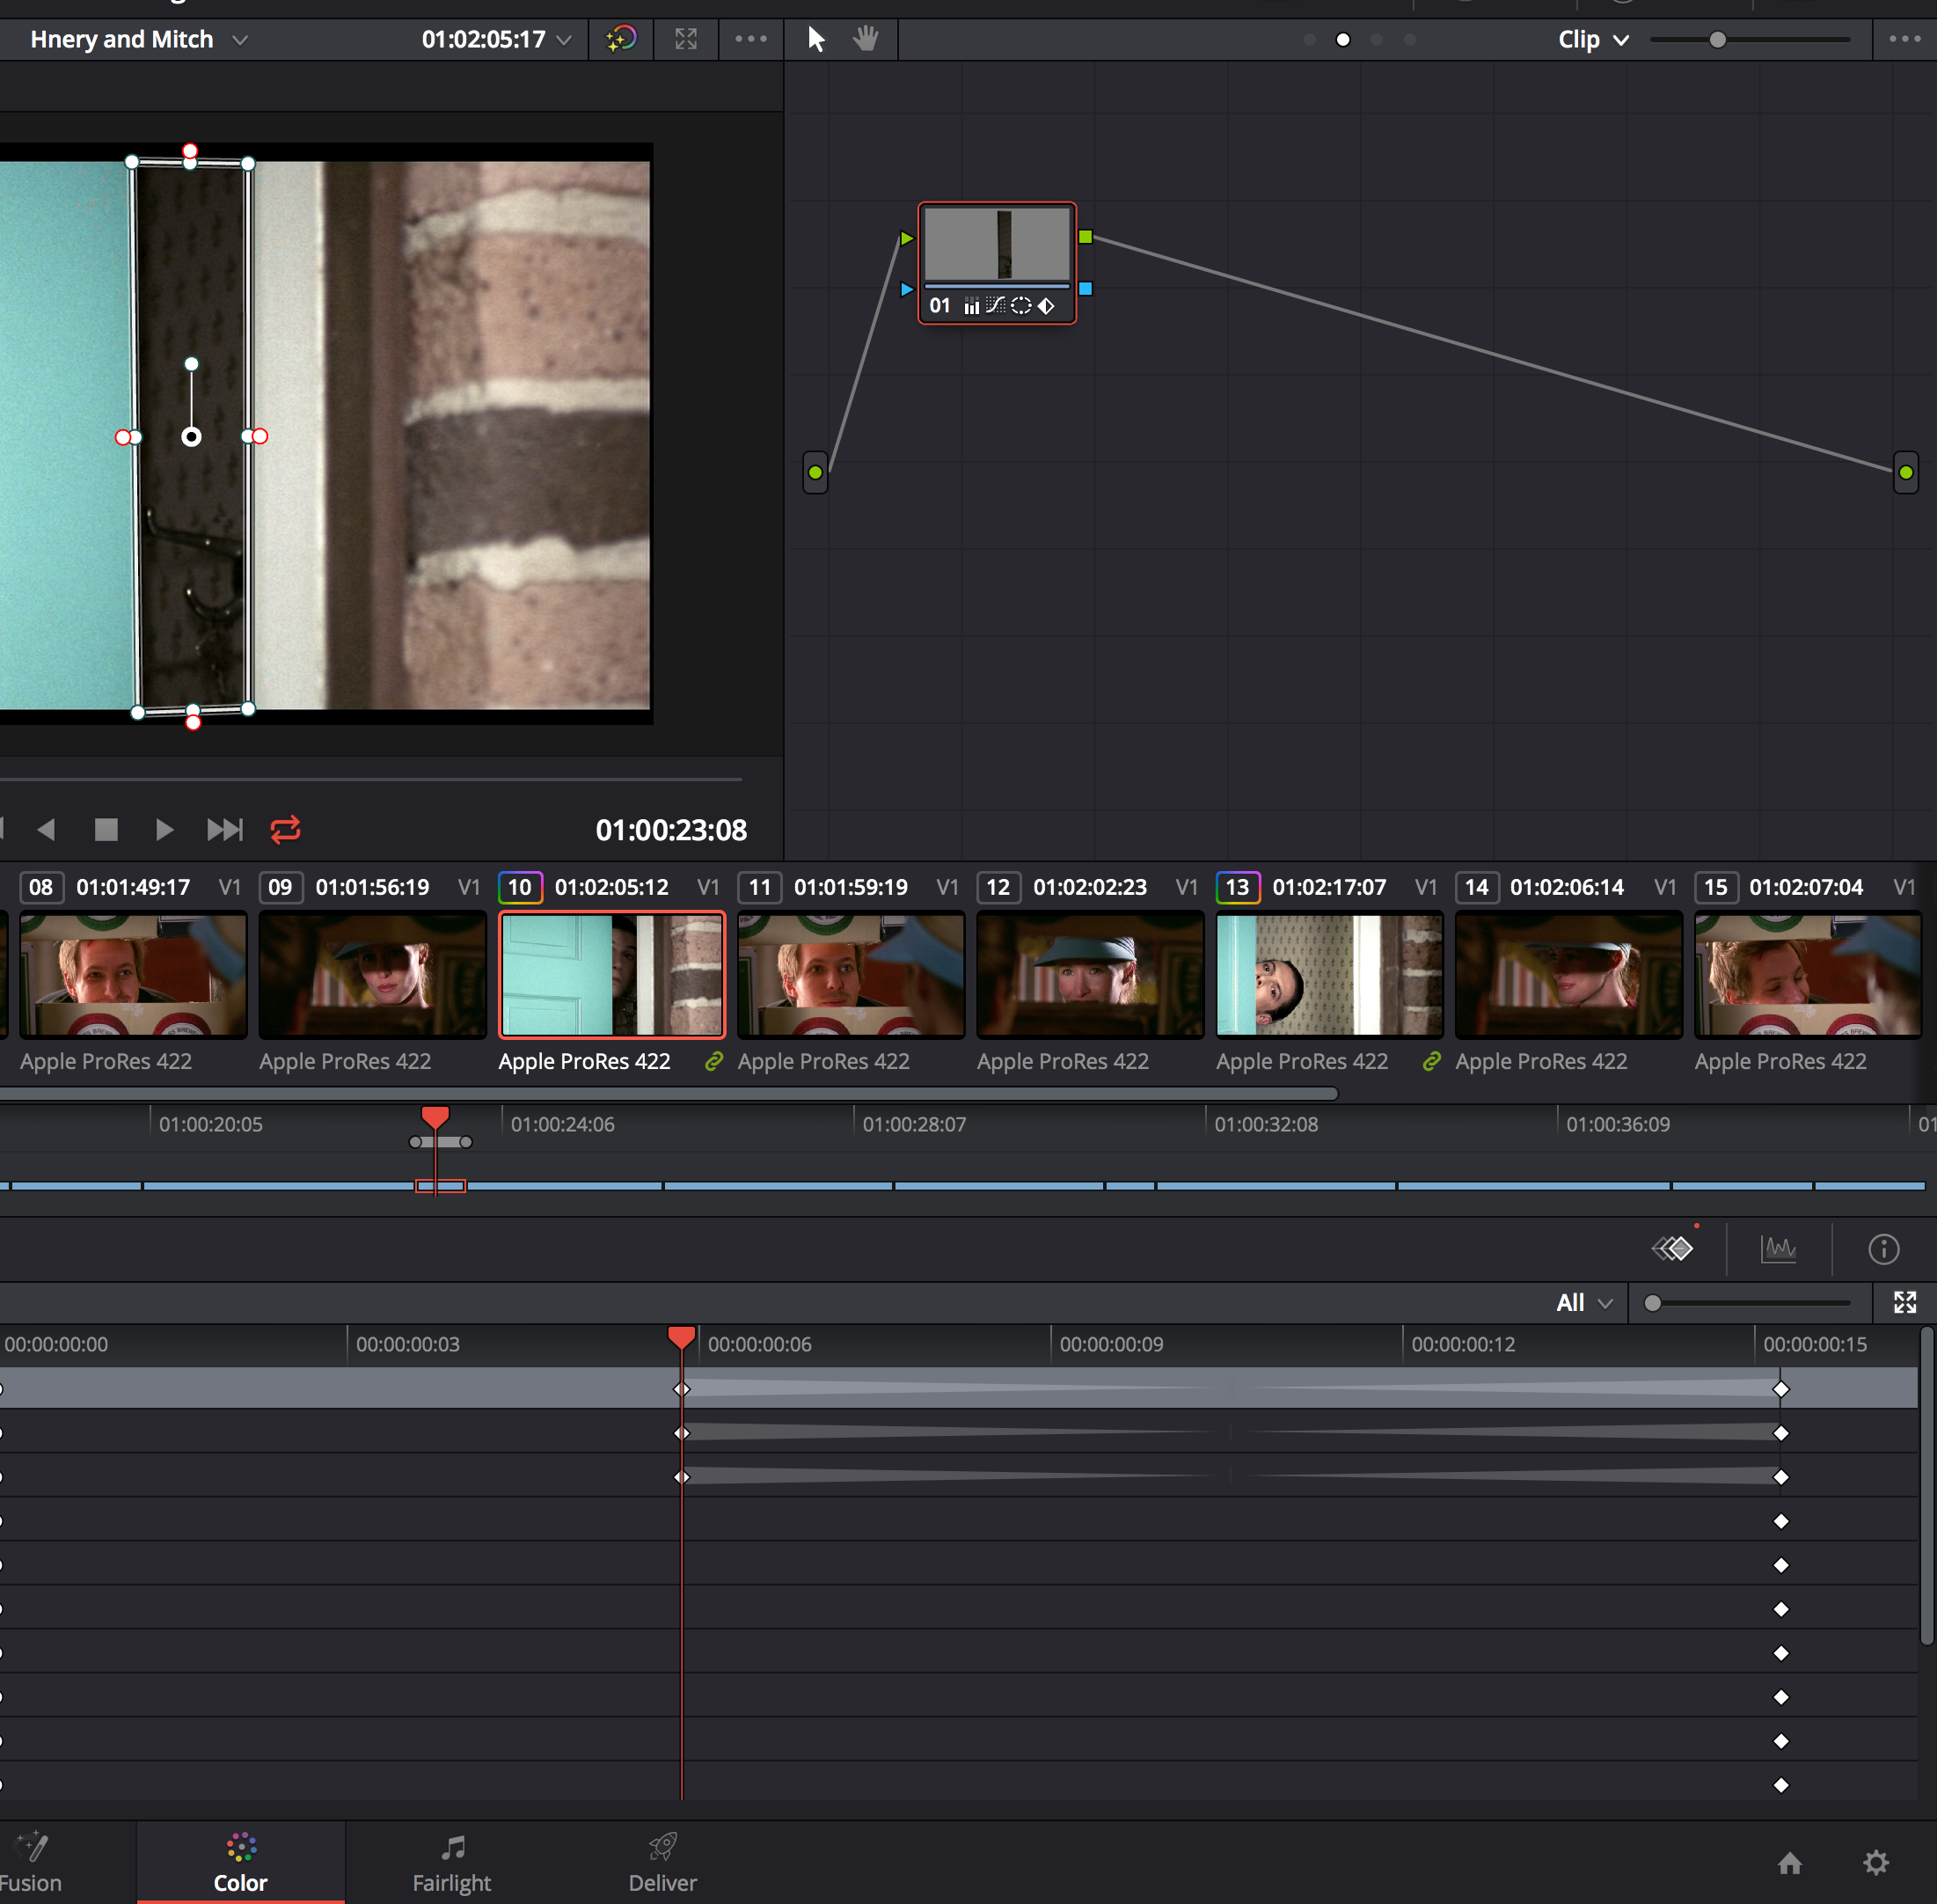
- Using Window (adding masks)
- When using people with backlight
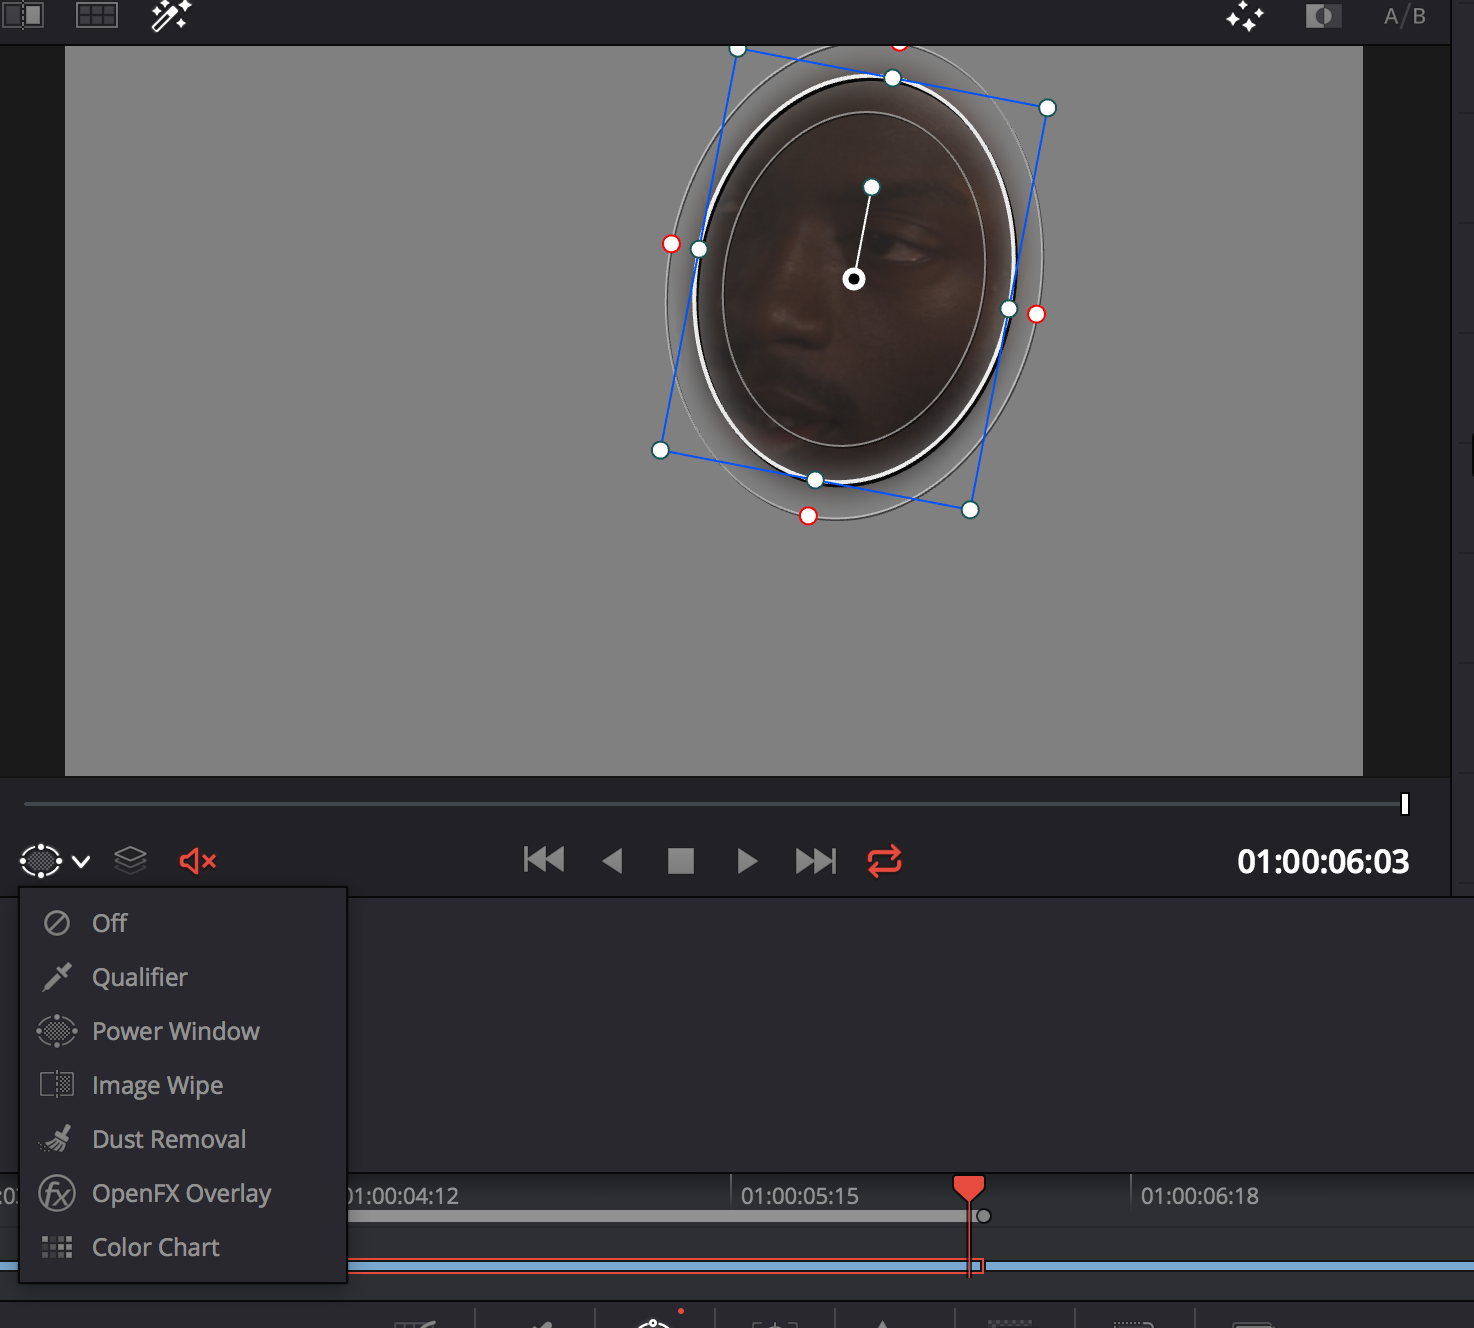
- Using feather to make smooth transition
- Adding a softness
- Masking the transition of the mask that is being applied
- Underexposing in postproduction is much easier and retain more detail.
- Overlight and all with filler and making enough a different in the key light and details.
- Adding a softness
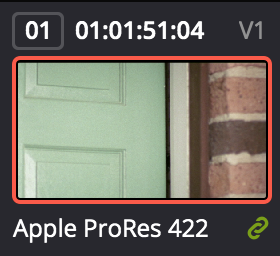
- Linking clips together to grade multiple clips together
- Links clip has chain symbol
- Creating multiple groups for each similar camera takes and angles.
- Group pre-clip is correction and not stylisation.

- Addition adjustment to individual change setting to clip
- Group post clip stylisation
- Pre clip to fix
- Post clip stylise
- Usuful shortcuts:
- Shift+D toggle on/off all colour correct
- CMD+D toggle on/off only select nodes
- Nodes are layers
- KEYFRAMING
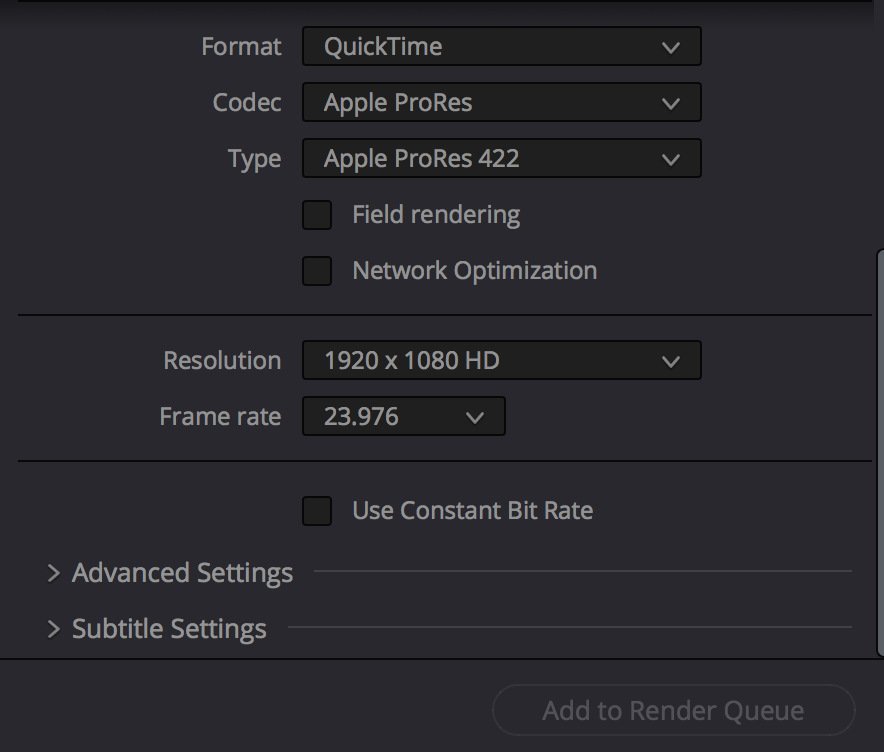
- Exporting
- Deliver tab